This content was originally covered in a video here: https://www.youtube.com/watch?v=zwylCXNqqXE
Today we're going to look at the bias adjuster clevis mechanism.
Putting Your Master Cylinders On
Screw your push rods into the clevis the same amount for consistency in the travel in the bias adjuster from front to back. It keeps everything from getting bound up.
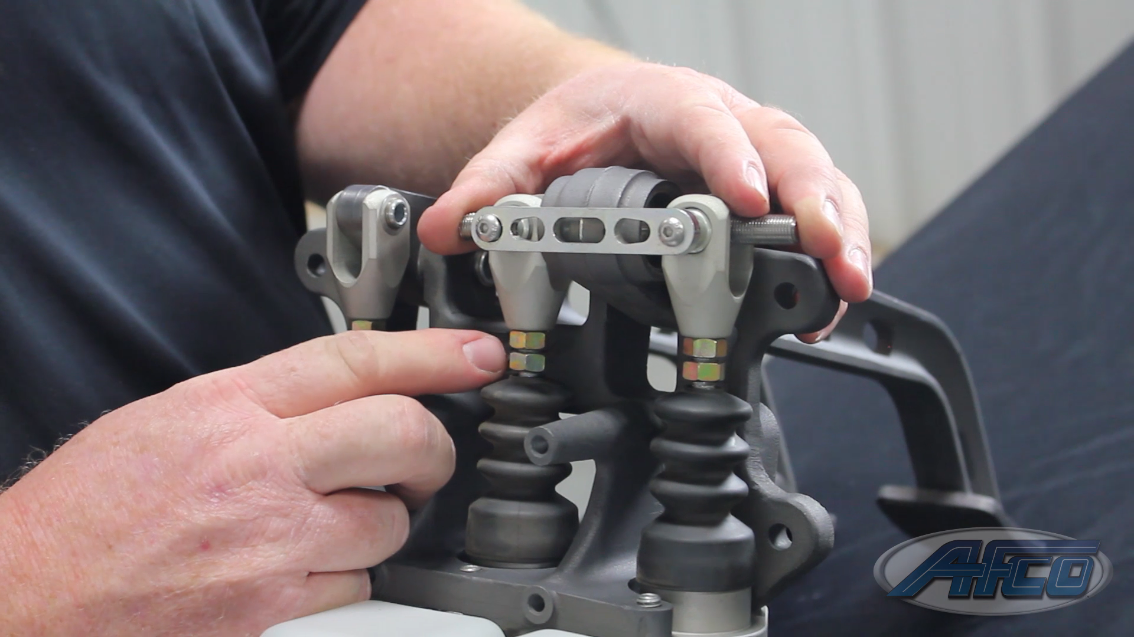
After you screw your push rods in, you should have 26 rounds of adjustment from front to rear. If you have substantially less, check the bias adjuster for burrs and make sure it's lubricated.
Tip
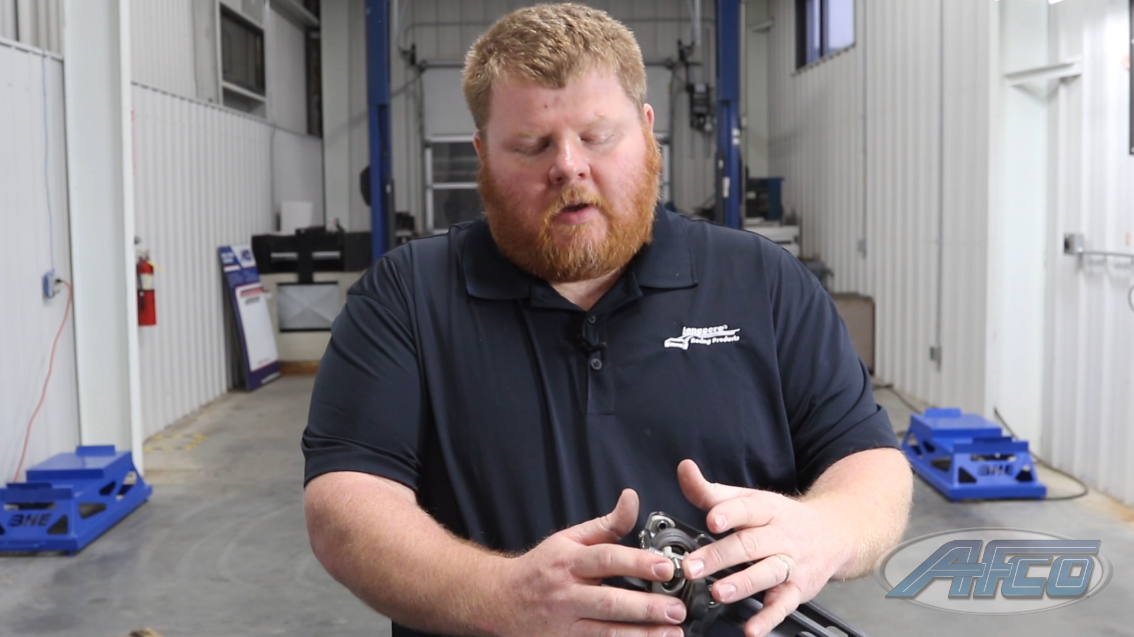
Another thing to look at is when you jam your bias crank onto the adjuster, don't use a jam nut in the case of where you're using the crank. Use red Loctite instead.

There's a broach on this end adjuster that allows you to tighten that up.
Running your master cylinder
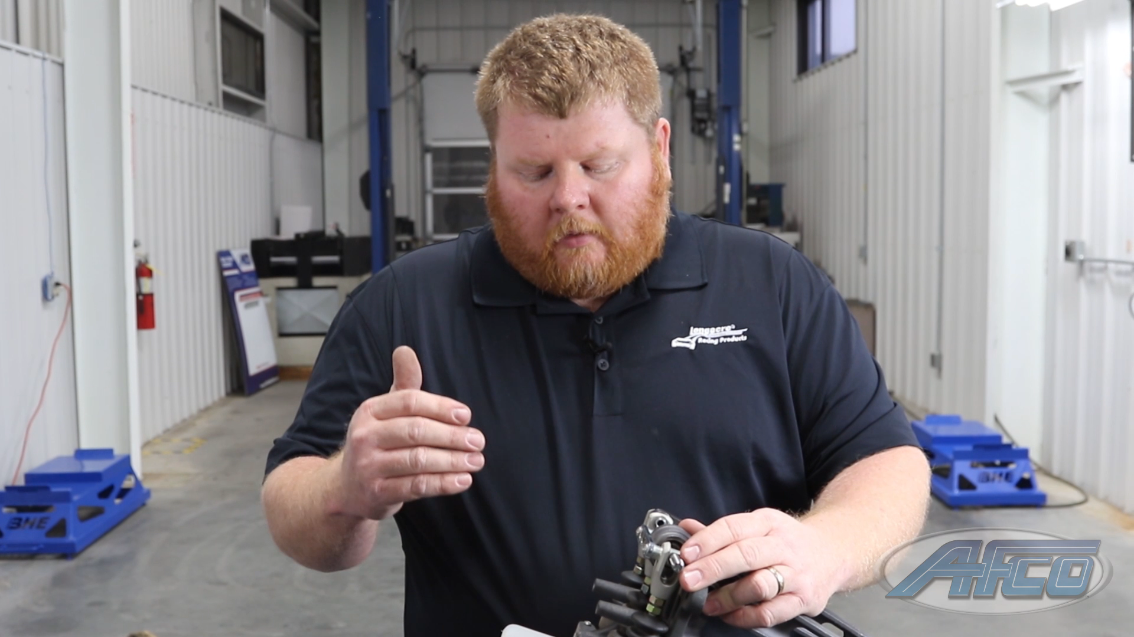
If you're running your master cylinder with your rear brake to the left side, you're going to screw your crank to the right to get rear brakes.
If you're running your master cylinder to the right side, you're going to screw your rank to the left.
Don't get it backwards.
Bias Bar Maintenance
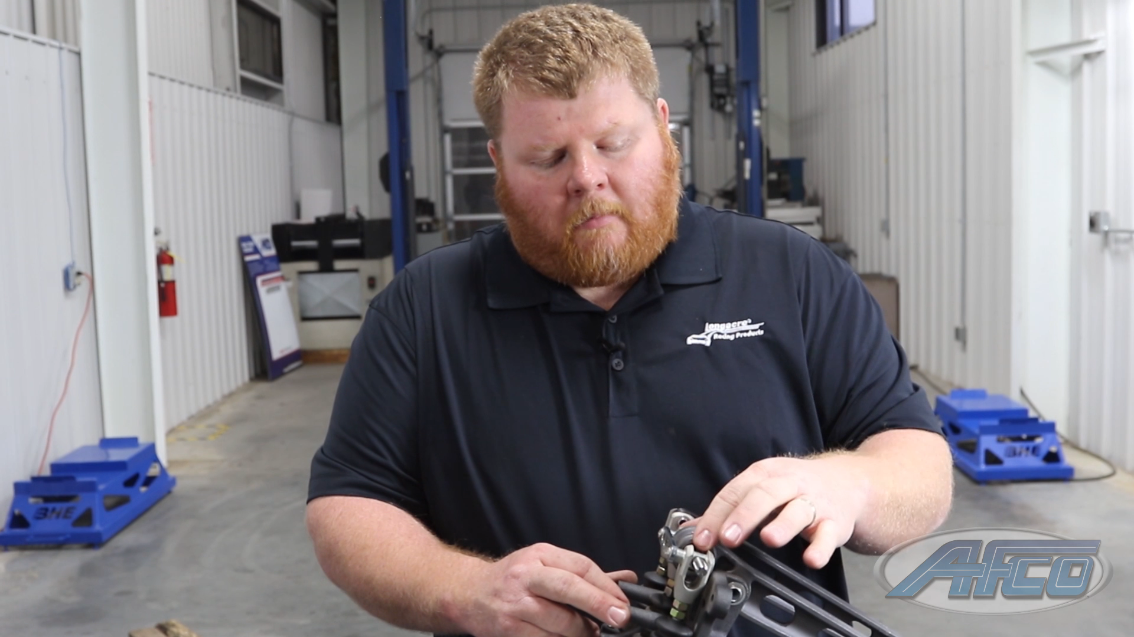
Weekly, the bias bar needs to be cleaned, lubricated, and ran through its cycle a few times to keep everything adjusting correctly.
After A Crash
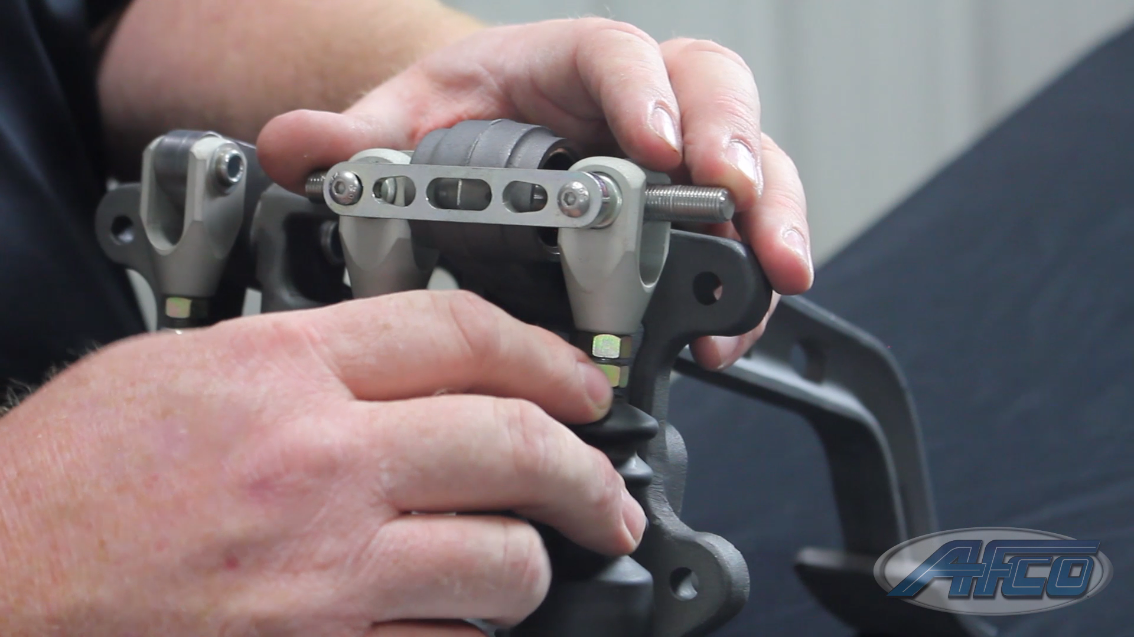
•Check your master cylinder push rods by pulling down the boot and looking at it.
•Look at the bias crank and adjust it from front to rear. Make sure there's no bend in the bias crank. That can substantially change the handling of your car.
Stay tuned for more tech tips on the AFCO Blog!